


 Direct purchase from the factory


1.You can contact the customer service. for any question regarding the product.
2.Ask the question in English to get answer faster.
3.Keep your question short and to the point.
Questions:0/2000

 Multi Rotor PartsFPV SystemRadios & ReceiverBattery & ChargerTools & Bags & StorageConnector & Cable & WireRC ServosElectronic Learning ToysPlane & Parachute ToysSolar Powered ToysPottery Clay & ToolsPaper Art & DrawingBlocks & Track ToysModel BuildingDiecasts & Model ToysProtective GearsMotorcycle LightsCharger & Socket AdapterMotorcycle Engines & ComponentMotorcycle HelmetMotorcycle DIY KitsMotorcycle AccessoriesMotorcycle Alarm & SecurityCar Stickers & DecalsCar CoversWindow FoilsCar Protective FilmCar Protective Film Body ArmorLicense Plate AccessoriesDIY Electronic KitsElectronic Accessories & SuppliesModule ComponentsBoard & ShieldExpansion Board & ShieldSmart ModuleSensor & Detector ModulePower Supply ModuleRaspberry Pi & Orange PiSecurity Alarm SystemSmart Remote ControlWeather Station & ThermometerAccess Control & IntercomsHome Automatic KitsAutomation ModulesClocksHome Decor StickerDecorative PaintingDecorative CraftsStorage BagsStorage BoxesItems Storage & OrganizationSeedsWatering & IrrigationGarden LightsPest Control ProductsBathroom ApplianceShowerhead & AccessoriesBathroom Storage & OrganisationBathroom SafetyDoor Hardware & LocksIndustrial HardwareDecorative HardwarePackaging & ShippingStorage & OrganizationFurniture HardwareKitchen Tools & GadgetsDrinkware & Tea SetsBakeware & AccessoriesHome Brewing & Wine MakingKitchen Knife & CutleryBarbecue & Picnic SuppliesDinnerware & FlatwareXiaomi Kitchen Appliance
دفع آمن مضمون

 هدية مجانية
 سياسة الشحن
 سياسة الإرجاع
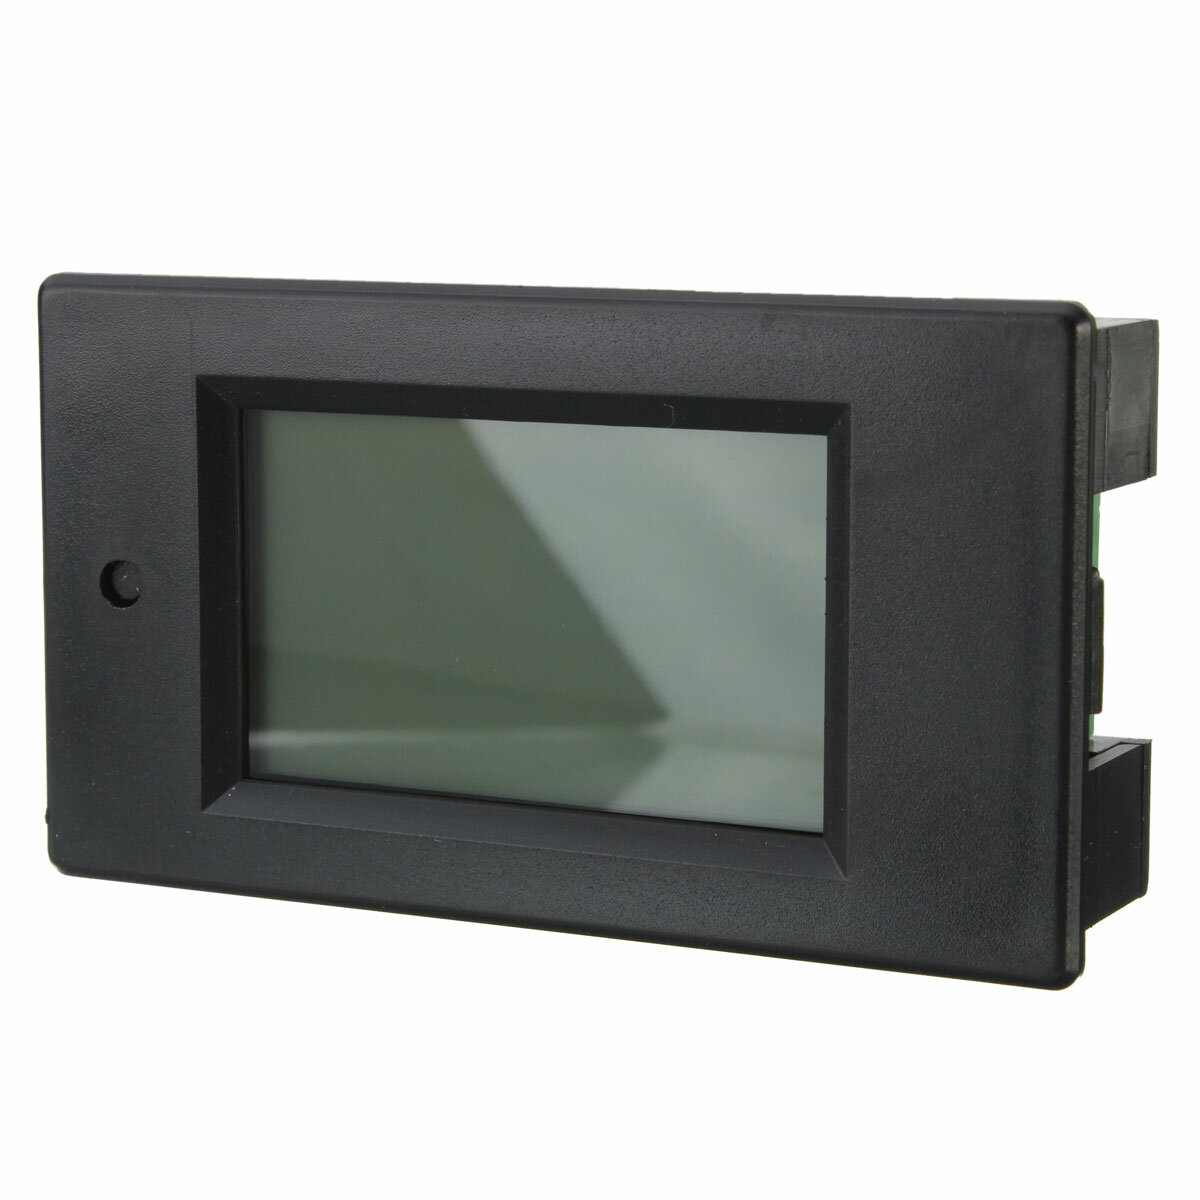
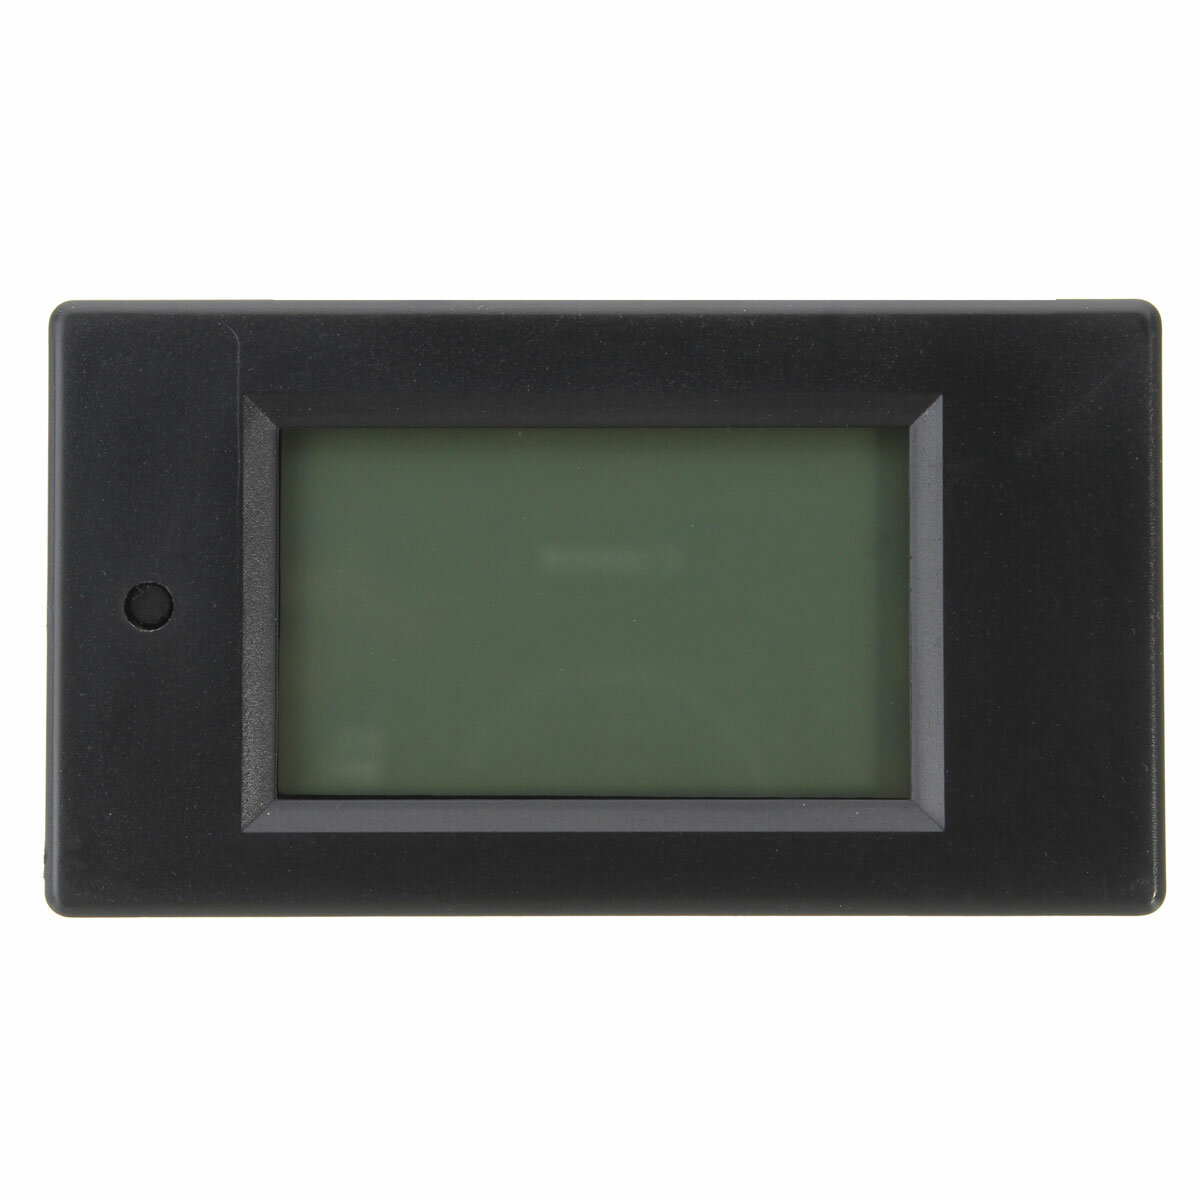
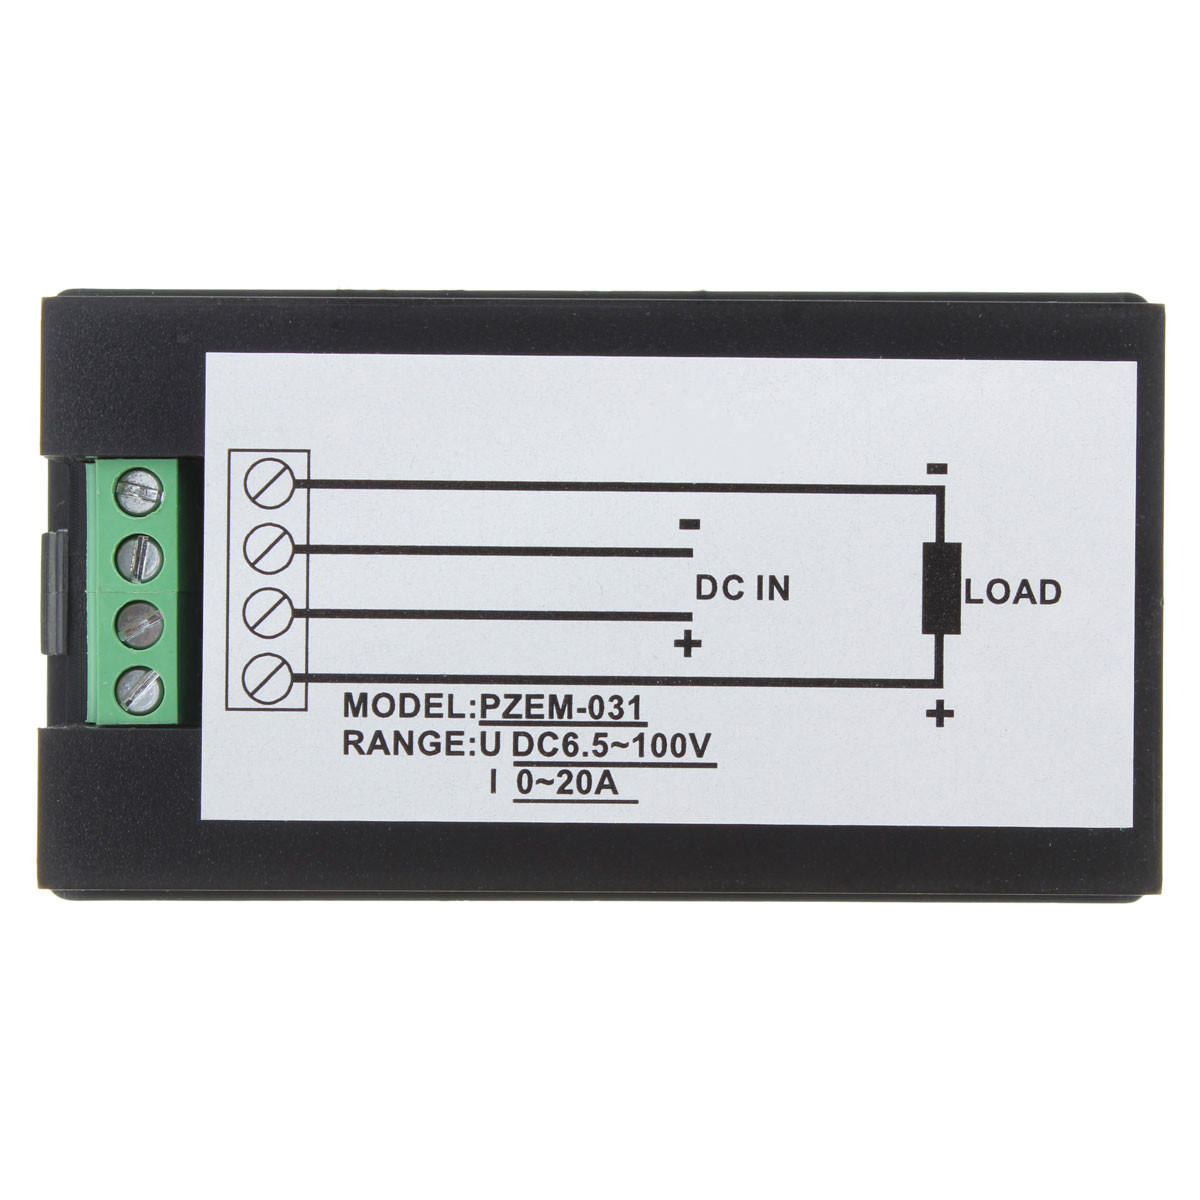
20A DC Digital Multifunction Power Meter Energy Monitor Module Voltmeter Ammeter 6.5V-100V
Description:
| Working Voltage | DC 6.5V-100V | |
| Measuring Voltage | DC 6.5V-100V | |
| Measuring Voltage | 0-20A | |
| Rated Power | 2000W | |
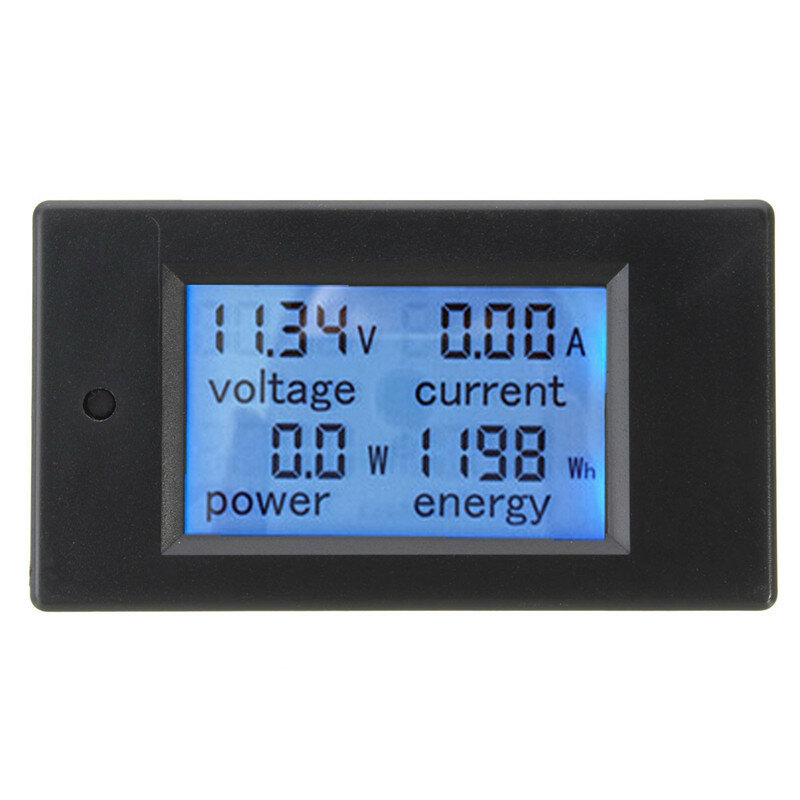
| Display | LCD | |
| Display Format | Power | 0.0-999.9W (<1KW) |
| 1000-2000w(>1KW) | ||
| Energy | 0-999Wh(<10KWh) | |
| 10-9999KWh(>10KWh) | ||
| Voltage | 6.50-99.99V | |
| Current | 0.00-20.00A | |
- Overload alarm function (over power alarm threshold, the backlight and voltage flashing alarm)
- Power memory, shave the power parameter when power down, safe to use
Operaqtion Tips:
A part of the review has been auto-translated.

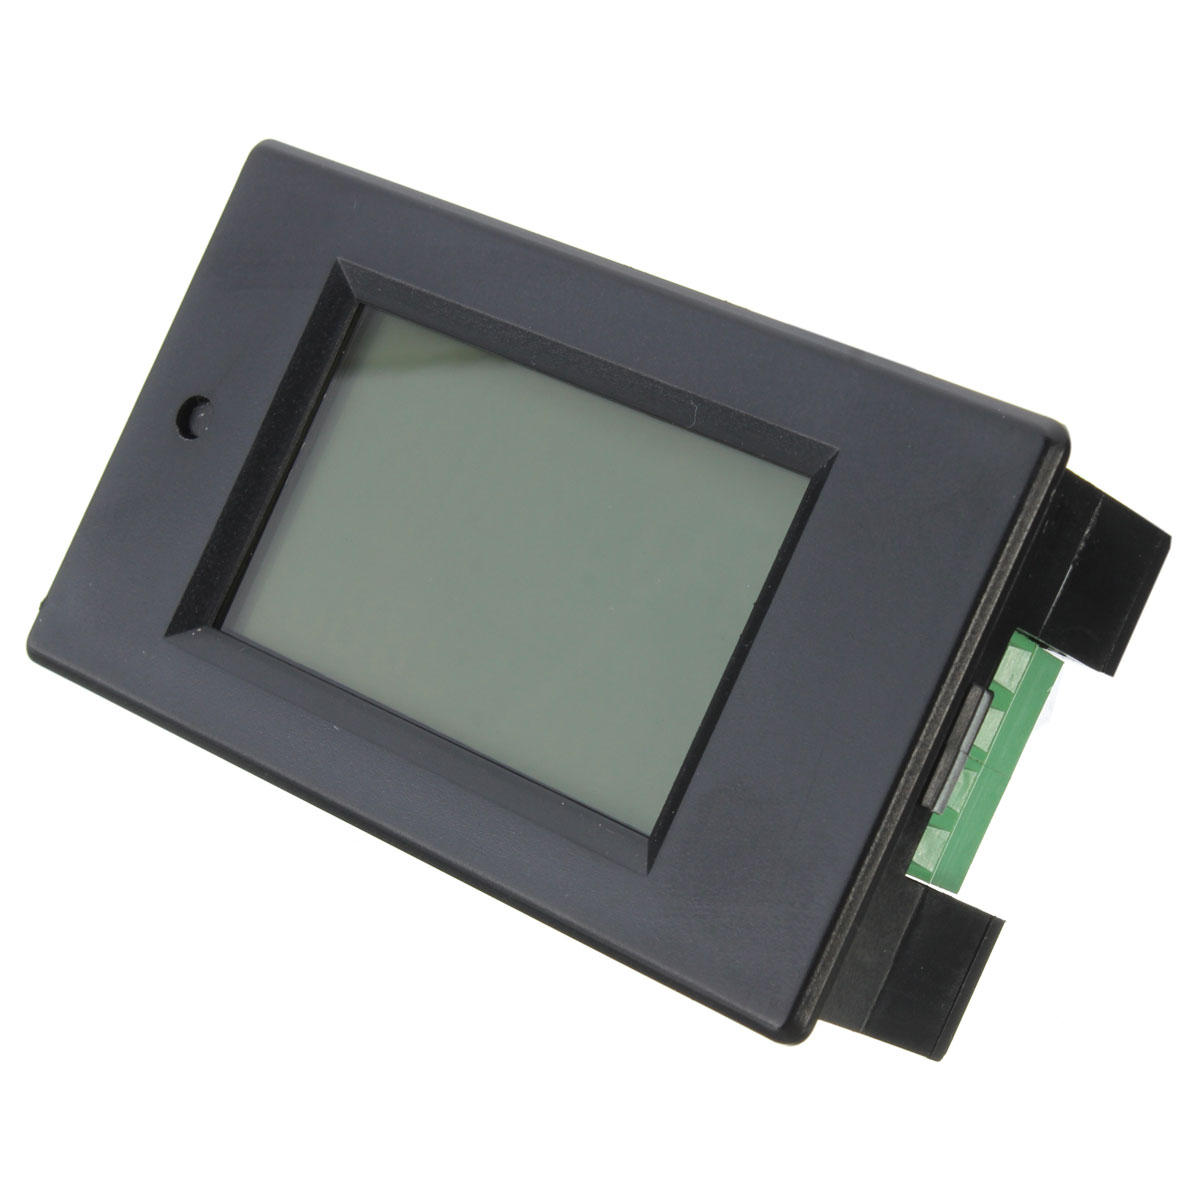
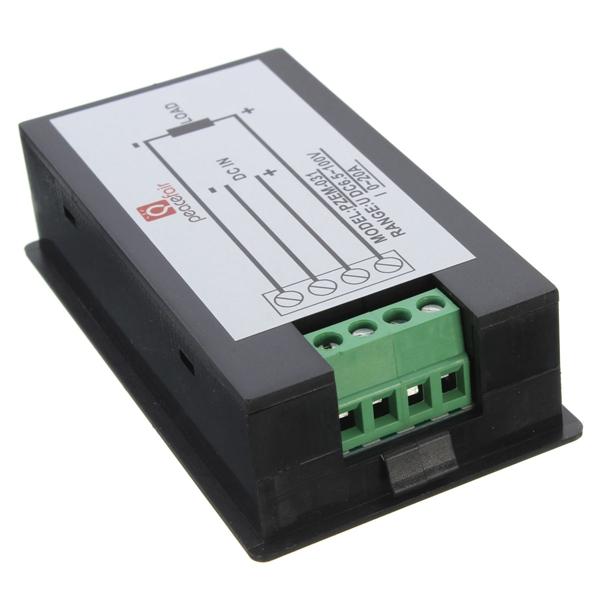
It happens that this power meter may give incorrect readings (more than should be). It can be calibrated by opening up the back and shorting the pads marked "W" on the PCB, then add 20V to the input and 1A load (20 Ohms) to the output. Then power on, wait for the display say "Pass" then power off and remove the short. Ta-daa: calibrated.

I did a whole bunch of looking around for a supply monitor for my power supply I am building. This one seemed great but the minimum 6.5V input meant I could not supply lower voltages. Upon reading the reviews I found one detailing that removing the diode "D" and placing the power monitor supply positive lead on the cathode (part of the diode with the line on it). allowed for lower voltages to be measured. So I tried it and it worked! Just tweaked the alarm trigger to 0V and now it works great!


Tips:For questions about your order, place of delivery, product discount, taxation, delivery time, warranty, shipping, payment, exchange rate, and other questions unrelated to the product, please contact customer service.
A part of the QA has been auto-translated.
احصل على آخر أخبار العلامة التجارية وخصم 15% على طلبك الأول.

Hi ?
How can we help?


